Easy Unisex DIY Lip Stains
Aiden van WykHealthy lips are the ideal.
It doesn’t matter who you are, where you are or when you were born - your entire spirit feels uncomfortable with dehydrated and borderline crusty lips.
That’s where this simple DIY lip stain steps in, giving you smooth, healthy colour using ingredients you probably already have at home.
Lessons From The Top Lips Stains On The Market
As DIY’ers we love innovation, the opportunity to play and like chefs, making something new with what we already have in our cupboards.
While this is lovely, looking at bestsellers currently on the market, and highly rated similar products, that you’re already interested in can be a great springboard for formulating your functional product, saving you time and mental labour. Big brand cosmetologists have already determined what ingredients/properties to include in products; based off their own formulation knowledge and market research.
Use that information and add your own twist!
Hydration – Hydration – Hydration!
Every bestselling lip stain prioritises hydration.
Now, this may seem self-evident, but hydration is not always present in lip marketable products and often times when you don’t intentionally consider it, the hydration factor might be sorely lacking. Sometimes it’s just a pretty cover-up for the thirsty lips underneath.
A problem my brother always had with his store-bought lip balms was that even though his lips were covered, it still felt dry underneath.
You might assume that using water will automatically be more hydrating, but on the contrary, the water goes straight into the lips, gets absorbed, and then disappears. This is why one typically includes humectants like Vegetable Glycerine, Sodium Lactate and Hyaluronic Acid; as they stay on the surface of your skin and maintain a level of moisture on your skin.
Lip Feel And Final Texture
Many water-based lip stains still include a touch of lightweight oil. That tiny oil phase adds some emollience, and helps the product glide across the lips without dragging, while also giving a momentary glimmer effect before fully absorbing. It’s a small detail, but one that transforms a basic formula into something that feels polished and purposeful.
Though skin drinks up water easily, it thrives using oils as a protective layer. By solubilising a small amount of high-polarity oils like Squalane, Fractionated Coconut Oil, or even Rosehip (which could lend both a ruby tint and a boost of Vitamin A), your lip stain gains that soft, luxurious finish.
Now with that said, most lip stains feel great when first applied - slightly glossy and hydrating - but the real test is the finish.
Does it feel bare, velvety, or sticky?
That lingering texture can make or break the experience. To improve this, consider shifting your formula toward a gel-serum consistency. The addition of oil can help reduce the stickiness that humectants like Glycerine could leave behind, creating a more balanced, wearable finish.
Stain Potency
While a stain aims for the natural look, we still want it to be noticeable.
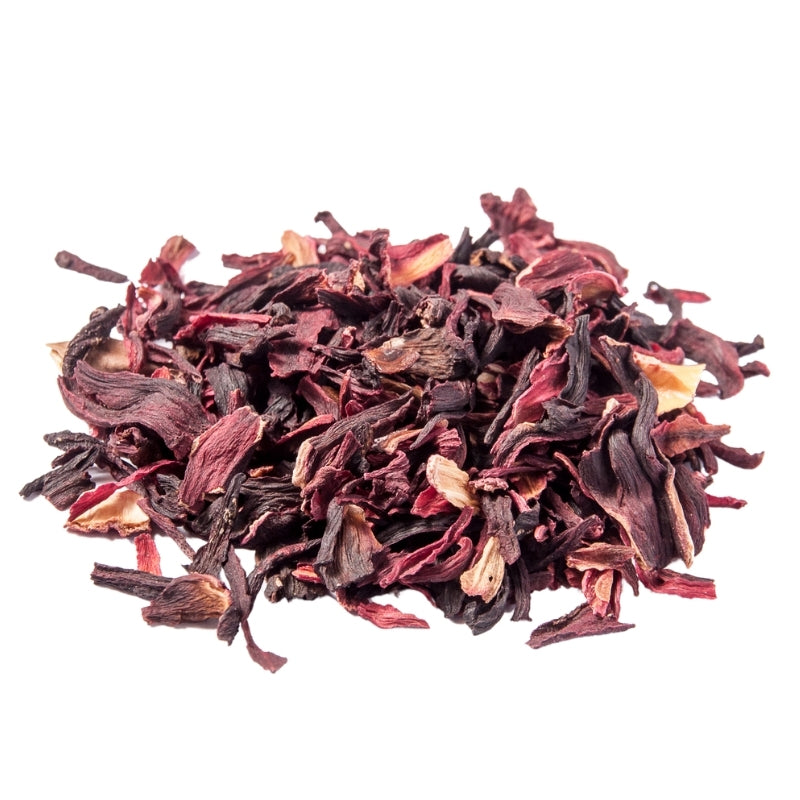
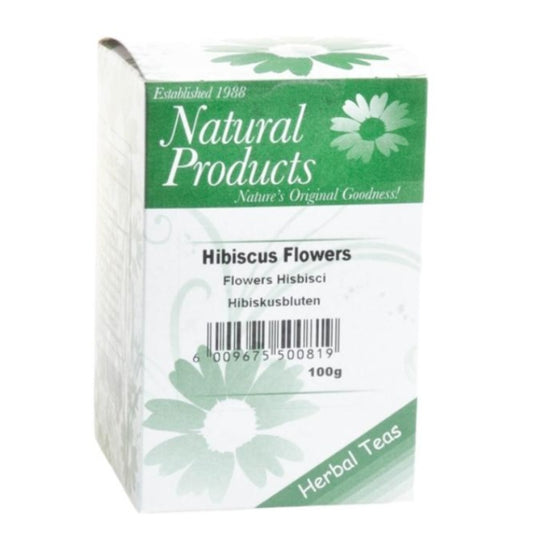
When using Beetroot and/or Hibiscus as your colourant, though it feels nourishing, many times the first application is not all that noticeable. This is because natural colourants are typically not as potent as synthetic colourants and since these are water-based, they'll be absorbed rather quickly.
- You'll need to layer applications for more potent staining power, or consider co-pigmenting with other colourants to get that stain.
Some people even add a bit of food colouring (technically synthetic but food-safe) as a booster while keeping the base fully natural. While this is a personal choice, formulating lip stains is definitely about finding the sweet spot between nature’s limitations and your tinting goals.
Do Not Neglect The Senses
Lip stains, as the name suggest, go on the lips and will therefore inevitably be tasted and smelled. As such, it's in everyone's best interest if that experience is at least tolerable.
I found that my lip stain tasted pleasant due to the large amount of Glycerine and Hibiscus tea, and the Peppermint Essential Oil gave it a pleasant smell and sensorial plumping effect. I loved it! Other ways you can intentionally work with this concept is to make it themed, like an orange lip stain, using Sweet Orange Essential Oil and maybe extract some orange into the lip tint. Maybe even add a drop of Cinnamon for stimulation and warmth.
All to say: If you experiment, keep in mind that this will go on the lips. Be wary of adding any ingredients with bitter tastes, strong smells or not advised to be ingested. If uncertain, first do a patch test as your lips can be more sensitive.
Is A Lip Stain Better Than A Lip Balm?
This answer is probably the one you expect - it depends on your goals.
- They behave and look differently on the lips, so “better” really comes down to personal preference.
Lip balms, while it can be very nourishing, can leave a glossy look on the lips. While that gloss is great for adding a layer of powerful colour and protection, it’s also easily wiped off - revealing the unchanged skin underneath. And not everybody wants that shiny look balms often give.
This is exactly why I prefer a lip stain.
Water-based lip stains are more readily absorbed by the skin and contain colourants that, because they sink in, last longer and appear more natural.
The effect can be a gentle tint (think of a child who’s just eaten pink candy). Ideally it gives your lips that freshly peeled, healthy, plump look.
Experimenting With Lip Tints
When formulating a Lip Tint, there are many ways that we adjust the properties of the Tint – by being intentional with ingredient selection.
We mentioned that lips tints absolutely need humectants like Glycerine, Panthenol and Hyaluronic Acid. Personally, I really liked adding Marine Collagen and Sodium Lactate to mine. Though I’ve never tried adding Honey, it sounds amazing in theory.
Making Lip Tints Active
If you struggle with peeling lips, you could include a gentle exfoliant like Lactic Acid to help renew the skin and give it that freshly bitten look.
You can add Allantoin or Aloe Vera to soothe and protect.
You could even extract multiple botanicals into your water base, like a stimulating Peppermint Tea, soothing Marshmallow Tea or Green Tea to extract the caffeine present, stimulating your lips. Though, do note that this shade of tea may slightly tint your lips green and many botanicals do taste.... very healthy :)
And of course, as part of the oil phase, you could include a couple of drops of a stimulating essential oil, like Cinnamon or Peppermint Essential Oil.
Preserving Your Lip Tint
Preservatives deserve special consideration.
While Geogard 221 is considered completely safe for cosmetic use, I wasn’t entirely comfortable using it on the lips. That’s why I opted for a combination of Potassium Sorbate and Sodium Benzoate as my preservatives. These are commonly used to preserve foods and sauces, are affordable, and perfectly fine for use in cosmetics - so they were an easy swap for me.