How To Make Oil Macerations

How To Make Oil Macerations

Juliette van der Meer

Botanical extracts are fascinating for several reasons, that's why we're excited to kick off a new blog series all about them: Botanical Extracts!

Unfortunately, natural botanical extracts are hard to find in South Africa. Luckily there are a few ways to produce botanical extracts at home. In this new blog series, we will discover the various ways you can make your own extracts with natural ingredients as solvents.

We have discussed water-based botanical infusions to some degree in the shampoo and hair care blogs, but we'll come back to those at a later point. To start we're going to go back to the OG of botanical extracts: oil macerations.

What is an Oil Maceration?

Oil macerations or infused oils, are oils that have been used as solvents to extract the therapeutic properties of botanicals. They are simple to make and there are endless variations. Let's dive in.

Choosing Your Ingredients

Oil macerations are delightfully simple: all you need is an oil, botanicals and a glass jar.

Botanicals

Only use dried botanicals to eliminate the risk of bacteria from fresh botanicals which still have a high water content.

If you are using botanicals from your garden, make sure to properly dry them before use.

You can use any botanical you like - this is the beauty of botanical extracts! Choose botanicals that are suited to your needs or wants in your products.

Chop up your dried botanicals as finely as possible. This will help the oil penetrate further and absorb more of the properties of the plant.

Tips for Selecting your Oil

To choose an oil, start by considering what you plan to do with it. Is it going in a facial serum or a soap, an oil-based product like a lip balm, or a lotion? Assess your needs and what type of oil you would usually use in those circumstances.

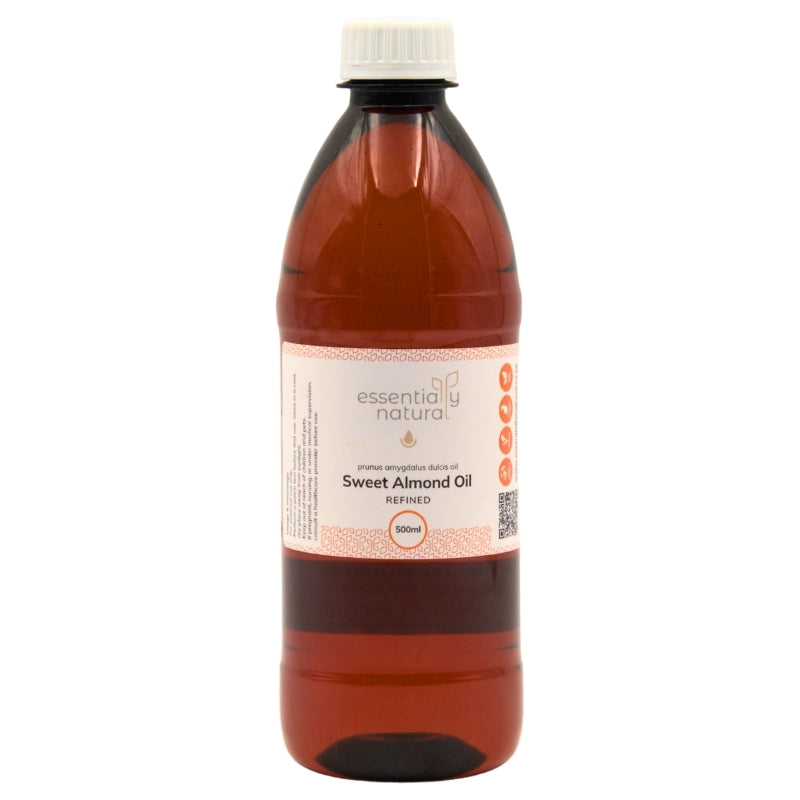
  • Use good quality cold-pressed oils like olive, sunflower, sweet almond or even jojoba. Rice bran, macadamia, baobab and castor oil (think how divine an infused castor oil in a lip gloss would be!) are other excellent options depending on what you plan to use your maceration for.
  • Go for oils that are neutral in scent otherwise the inherent scent of the oil may overwhelm the properties of the botanicals.
  • Be aware of the colour of your oil and the colour of your botanicals. The green colour of avocado oil may not be the best option if macerating brightly coloured petals for instance.
  • How much oil you use is of course up to you. There isn't a set ratio of oil to botanicals to use, just make sure there is enough oil to sufficiently cover the botanicals.
  • Lastly, blend in 0.1 - 0.5% Vitamin E tocopherol to your oil as an antioxidant. This will help protect the oil from any oxidation and will extend its shelf life.

How to Make The Maceration

  1. Once you have your botanicals and oils ready, clean a glass jar and fill it with botanicals.
  2. Pour the oil over, making sure the botanicals are covered.
  3. Tightly seal up the jar and put it in a warm spot for about three weeks - maceration works best when gently heated.
  4. Stir the mixture up every day and replace the dried botanicals with a fresh batch every week so more properties are extracted.
  5. Once the oils have finished macerating, strain out the botanicals and bottle your oil infusion.

It will keep for an easy 6 - 12 months when stored in a cool place out of direct sunlight.

You can speed up the maceration process by gently heating the oil and botanicals over the stove on the lowest possible heat. Slowly heat the mixture for 3 - 4 hours until you are happy with the infusion. 

  • Never let the mixture get too hot or boil, or you will ruin both the botanicals and the oil.

How to Use Macerated Oils

Oil infusions can be used in skincare formulas as 'actives' in quantities of 5-10%, or you can use them in larger amounts to replace carrier oils in other recipes.

Maceration Ideas

Here are some great ideas to get you started! Oil macerations are not only fabulous additions to your ingredients but also make stunning gifts on their own.

Making An Oleoresin:

  1. Grind the resin into a fine powder and then use the gentle heating method of oil maceration for about 4 - 5 hours, stirring regularly.
  2. Strain and leave to sit for a day so that any residue sinks to the bottom. Then pour off the oleoresin and bottle.
  3. This method will absorb properties from the resin that even the essential oil cannot offer and is a wonderfully therapeutic practice too.


Have fun making your macerations!

Juliette van der Meer

Fascinated with all things Nature, Science, Chemistry and Cosmetic Formulation; slave to four cats; my sweet tooth fuels my sweet nature.

I like to constantly learn new things. I also love crime series, which is totally not a red flag :)

I graduated from Rhodes University with a Degree in Geology but later switched to Cosmetic Science and haven't looked back - proof that flipping your life around can lead to much happiness.

BSc Hons, Adv. Dip. Cosmetic Science

Disclaimers

We love sharing DIY recipes, natural tips, and wellness inspiration with you! The content on the Essentially Natural Blog is here to inform and inspire, but it’s important to keep the following in mind as you explore:

Product Use & Medical Guidance

Unless specifically stated otherwise, our products and recipes are intended for external use only. Always follow usage instructions carefully, use ingredients mindfully, and patch test first whenever trying an ingredient/formulation for the first time. The content on our blog is shared for informational and educational purposes and is not intended to replace professional medical advice, diagnosis, or treatment. If you’re pregnant, breastfeeding, on medication, or managing a health condition, please consult a qualified healthcare provider before using new ingredients or remedies.

Results May Vary

Natural ingredients can do wonderful things—but they’re not one-size-fits-all. What works beautifully for one person may not have the same effect for another. Your skin type, health, and lifestyle all play a role in how your body responds, so please keep that in mind. We also can’t guarantee the shelf life or stability of DIY formulations. For longer-term storage or commercial use, professional testing is always recommended

Content Accuracy

We put a lot of love and effort into making sure our content is accurate and up to date. That said, things change, and honest mistakes can happen. Please use your own good judgment and cross-check information if needed.

Third-Party Content

From time to time, we may share advice, resources, or links from third parties we trust. While we select these thoughtfully, we can’t take responsibility for their accuracy or practices—so please explore with care.

Copyright & Intellectual Property

Unless otherwise noted, all content, images, and recipes on this blog are the property of Essentially Natural. We’re always happy when our community shares and spreads the word—just please do so responsibly and with proper credit.

If you’d like more information on any ingredient or topic, feel free to reach out to us—we’re always happy to help. Alternatively, click here to view our full Terms of Service.


Thank you for being part of our natural DIY formulation community ♡