Overcome the Fear of Formulation
Aiden van WykAt first, the world of cosmetics seems insurmountable. Taunting you with novel words like surfactant and humectant, it makes the idea of DIY'ing your own facewash outlandish - never mind trying to supersede your entire skincare routine.
Only a genius could make useful creams.
But that is simply not true.
It's easier to make a cream than it is to make a pot of food, or to bake a cake. This does not mean that formulation cannot become complicated, but it does mean that starting off all you need to know is enough to make the next step forward. This piece of content will be what I wish I had when I started my formulation journey - taking you from complete novice to a playful formulator.
Step 1: Measurement and your first formulation
Your first formulation will be a water-based serum.
- Water based means that all the ingredient's used dissolve in water.
It's called a serum because it's liquidy and is not combined with its opposite, which in this case is oils. If it was liquidy and just oils, it would be called an oil serum as it was not combined with water. The first product I attempted was a gel - and it flopped horribly:
- The texture was clumpy and not a gel at all.
- It burnt my skin.
- It burnt my eyes (don't ask how).
- It went rancid (which is the cosmetic version of rotten) very quickly.
- It stank.
And worst of all, when I tried to fix it - IT BLEW UP - you know why? I used every ingredient known to man yet did not measure one thing properly. So do yourself a favour and buy at least these two pieces of measuring equipment, at least just to start off with:
With this you should be able to reliably formulate for yourself. There are other measuring tools, but at our starting stages you can still estimate with drops and teaspoons.
Here is what you should make first:
This is an easy morning wake-up spritz. All you do is:
- Boil your water.
- While hot, pour some of the water into the 25ml beaker.
- Add a half a teaspoon of Caffeine Powder and a teaspoon of Niacinamide to the 25ml beaker and mix until fully dissolved (meaning that it looks like it's just water again)
- Pour this into a 50ml Spritz Bottle and fill up almost completely the rest of the bottle. This will be hot.
- Leave to cool.
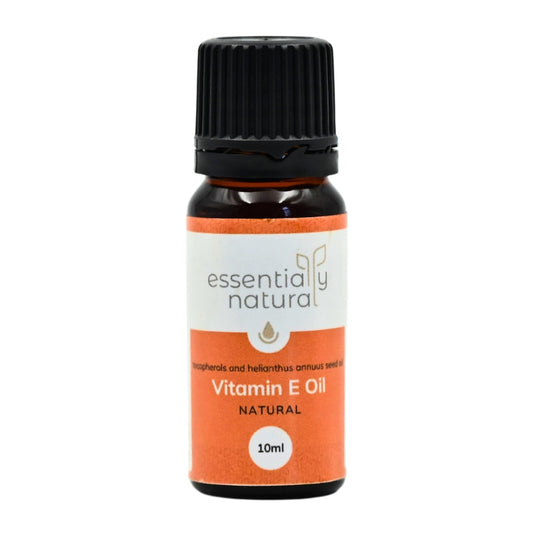
- Once it cools down to about the temperature of your hand, add in 10 drops of Geogard 221, a preservative, and shake. Preservatives should only be added once it has cooled down, as heat destroys its effectiveness.
This will make a great spritz; one that I personally relied on daily for quite some time. I used to only have a nighttime skincare routine, and used this alone in the morning to:
- Depuff my skin.
- Even skin tone.
- Reduce general redness.
As time went on, I made it more complicated by solubilising an oil into it, but it works perfectly even without doing so. And we don't want to make this too complex at this stage; we can get into the intricacies of solubilising at a later point.
Preservatives? Aren't they dangerous?
You may have noticed that we added 1% of Geogard 221 as a preservative. If you are anything like me, you probably have two questions:
- Why do we need preservatives?
- Are preservatives worth the danger?
To answer that:
Why do we need preservatives?
Water spoils.
This is because water is a great environment for microorganisms to grow. That means anything made with water and undisturbed will go off with time - food, drinks, damp skin and cosmetics. You may notice that it starts to stink and change colour.
To germs and bacteria; it's free real estate.
When we use products with these little microorganisms, because it had chance to multiply and produce toxins, it's more likely that you will get sick. We add preservatives to stop microbes from growing at all - keeping your formulation safer for longer.
Does everything need preservatives?
What are foods that don't use preservatives but somehow lasts? Biltong. Biltong and Bokkoms
Biltong is dried out of moisture completely - but not completely dry, often it contains oils. Most microorganisms need water to grow, so if you want to avoid preservatives, the best way to do it would be through anhydrous products.
- Anhydrous products are products that contain no water or water-based ingredients.
Are preservatives worth the danger?
There's a problem with this question itself. The question implies that all preservatives are dangerous, but that's a common misunderstanding.
Many of us have come to the rude awakening of having trusted products, but then finding out it has preservatives releasing parabens and formaldehydes over time. Some individuals even applied the thinking that:
Preservatives are meant to kill germs, it's only reasonable that it's trying to kill me too.
But I'm here to tell you that not all preservatives are created equal.
The preservatives we at Essentially Natural use/recommend are carefully selected for their mildness and effectiveness, reducing the risk of irritation. While some people's skin type may be more sensitive than others these natural preservatives are used at very low, safe levels. At their correct concentration (which is usually only 1%) your formulation, effort and money lasts longer. Without preservatives, a product meant to last six months might spoil in just a few days - even if stored in the fridge!
How to overcome the fear of making creams
Creams always seemed impossible to me. Over time though I've ended up making so many experimental creams that my fear of making a cream is gone... well, almost completely gone :)
Here's some steps you can take to hopefully help you overcome any similar fears regarding creams you may have
Remember this is just an experiment/test for you to learn some basics. This means that whether your cream turns out a flop or not doesn't matter, the point is the attempt.
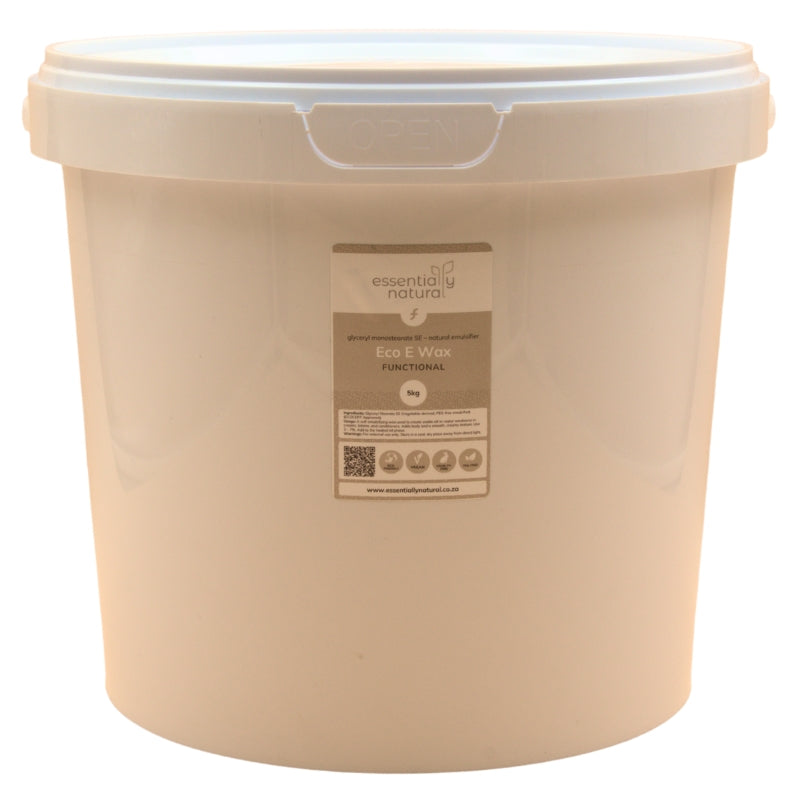
- Buy the smallest bag of Eco E Wax there is. It's cheap. All you need is two teaspoons, but I promise if there's more left you will make more cream.
- Pour freshly boiled water into a large flat bowl so that the base is completely covered but not too high up. Also pour the boiled water into your 100ml beaker, but not up to 100ml's, aim for just under 60mls.
- Pour cooking oil from your kitchen into the 25ml beaker up till about 15ml. Aim for a lighter oil like Sunflower Oil, but if you have a heavier oil - like Olive Oil - it'll work great too.
- Add about two heaped teaspoons of Eco E Wax to the beaker with the cooking oil.
- Now place the oil beaker into the large flat bowl, so that the beakers bottom is in the hot water, heating up the oil on the inside while constantly stirring. What you want is the Eco E Wax to melt into the oil.
- When completely dissolved into each other, add the Hot Oil into the Hot Water Beaker that you poured aside and mix.
- And mix.
- And mix.
- This mixing is long, but the more it cools down, the better the texture becomes. So keep mixing, taking occasional breaks to rest your arm.
- When it's cool enough to stick your pinkie in it without flinching, add 20 drops of Geogard 221 (1 ml is 20 drops - 1ml is 1% of 100ml).
- Mix until the Geogard is completely mixed into the Cream. Even though we'll throw it away, still add the Geogard - train your body to never forget the preservative.
- Leave it to cool.
- Once it's completely cooled down, you can apply it to your skin. Feel how easily absorbed it is (particularly if you used something light like Sunflower Oil). You'll be surprised how high-quality normal cooking oil feels as a cream.
Congratulations! You've made a cream. It was easy, cheap, and now you can throw it away (if you want).
How do you make a real cream?
If you made the cream above, you can very easily make a professional level cream, lotion or even hair conditioner. You may want to add different ingredients. For you to add ingredients, you may need to know a few ingredient groups and what they do:
- Emulsifier:
This is what you'll need to use to combine oils and water. In that cream you made above the Eco E Wax was the emulsifier. The way you normally use it is that you melt the emulsifier into your oil and then pour the oil into your water.
- Water Phase:
As you need to emulsify the two ingredients, you have to first dissolve all of the water-based ingredients into the water before mixing it with the oil. Dissolving all the water-based ingredients into the water you'll use is called the water phase.
If you are trying to figure out whether a product is water based or oil based, it should be in its product description, but otherwise feel free to contact us by email, whatsapp or a comment below - and we'll be sure to let you know. - Oil Phase:
This is when you group all of the ingredients that only combine into oils. Many times you will have to heat this up to melt a butter or emulsifier, making sure it's completely combined before adding it to the water phase.
If you try to add ingredients after the cream was made it will be harder to incorporate. Also keep in mind that the more ingredients you include, the more factors you'll need to consider - will you need to check your pH? Is your ingredient heat sensitive? Will your active ingredients counter each other or even power each other to such an extent that it becomes too potent? This is where it becomes complex, so take your time in adding ingredients.
Now, onto oils -