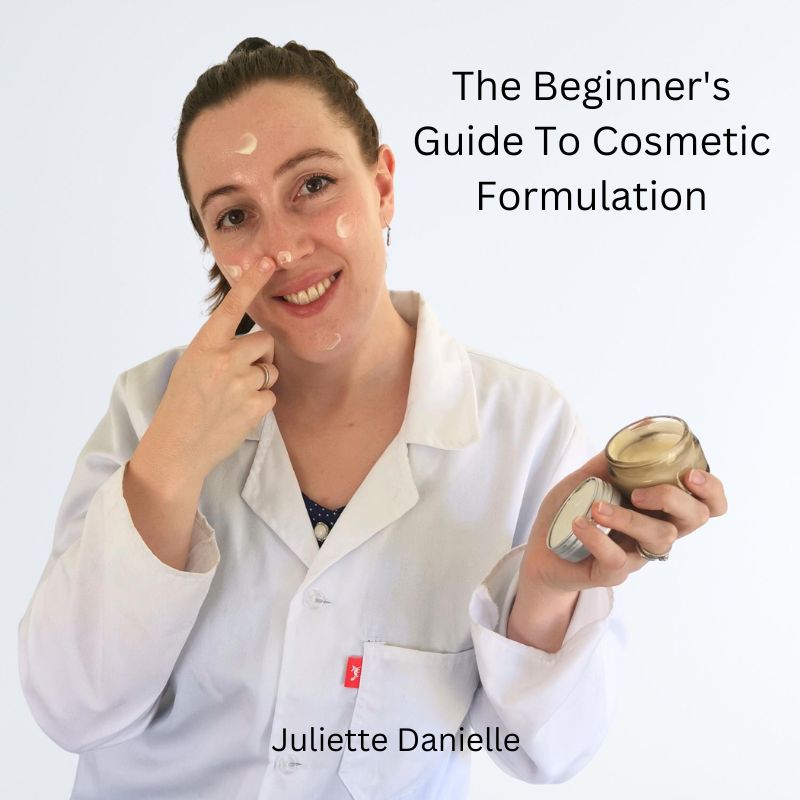
DIY Beauty Simplified: Collagen Jelly Gel-Cream
Cayla MandeanIf you're reading this, I can tell you're curious about DIY beauty!
I've always loved it; the freedom of choosing ingredients I adore and transforming them into something uniquely mine. I started with the classics: hot oil hair treatments, nourishing cuticle and lip oils, and luxurious body oils. Oooooh, and I just loved a relaxing evening by diffusing my favourite essential oils like lavender to melt away the stress of the day. Do you see a trend here?
Yes, oils. I loved them all.
But once I discovered natural cosmetic formulation, a whole new world opened up. Oils were just the beginning. Suddenly, there were butters, oil infusions, hydrosols, botanicals, glycerites and even high-performance actives to explore.
And so, I started experimenting with creating natural body creams, face creams, toners, body scrubs, whipped shaving creams, and so much more.
What I quickly realised is that the joy of formulation isn't just in the final product; it's in the process of learning how ingredients behave, experimenting with textures, making mistakes, and finally creating something that feels amazing on the skin.
And of course, sharing those discoveries with you.
Suppose you're just starting with DIY and at-home formulation, it helps to understand the basics first, like Getting Started with DIY Cosmetics, The Importance of pH in Formulation and How to Work With Percentages.
We also have an extremely helpful Beginner-Friendly eBook that is essential for anyone new to natural cosmetic formulation.
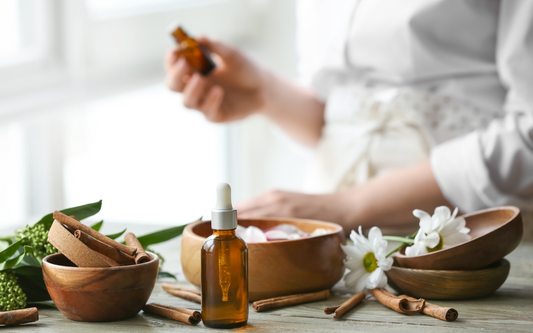
For me, the excitement of natural cosmetic formulation comes from spotting a product or ingredient and imagining how I could bring it to life in my own way. That's exactly what happened when I first heard about collagen jelly creams.
My natural ingredient passion and writer's brain went into overdrive. The idea of a bouncy gel-cream sounded amazing, and I wanted to make my own version using marine collagen for hydration, niacinamide for its skin brightening properties, and hydroxyethyl cellulose for a unique texture. It sounded like the perfect combination of fun to make and genuinely beneficial for the skin.
When sourcing ingredients, I stick to what I know and trust. I only use products from Essentially Natural, time-tested, reliable, trusted by many and consistently high quality.
And yes, I work here, but I am always blown away by what is on offer.
Now that I know what I want to create and have found the perfect supplier for my ingredients, it's time for the best part... imagining all the exciting possibilities!
Why A Collagen Jelly Gel-Cream?
The idea of combining hydroxyethyl cellulose (HEC), niacinamide, and marine collagen is exciting from both a formulation and skin-benefit perspective.
A plant-derived, water-soluble polymer that acts as a gelling and thickening agent. It creates a clear gel with a silky, lightweight skin feel. An excellent base for the jelly-like texture I'm aiming for.
Backed by multiple studies, niacinamide improves the skin barrier, balances oil production, brightens uneven tone, and helps reduce the appearance of fine lines and hyperpigmentation. Amazing right?
Research shows 5% is an effective and well-tolerated concentration.
Provides amino acids and acts as a natural humectant, helping skin retain surface hydration, contributing to moisture retention and soft, supple skin.
Together, these ingredients create a lightweight, fast-absorbing gel-cream that hydrates without greasiness. Use it as a daily moisturiser, or apply a thicker layer as an overnight mask.
But why stop there? You can elevate your gel-cream even further! Perhaps you'd like to add hyaluronic acid for extra hydration, or a retinol alternative for anti-aging benefits. The possibilities are endless.
And it doesn't just stop at actives. You can even experiment with different gelling agents. For example, instead of hydroxyethyl cellulose (HEC), you could try xanthan gum. Why? Because different gelling agents produce different textures and skin feels, giving you full control over the sensory experience of your cream.
Now, this recipe might look a little daunting at first, but trust me - it's not as complicated as it seems. If you're still feeling a bit intimidated, check out our Guide on How to Overcome the Fear of Formulation before you dive in.