Soap Making 101
Juliette van der MeerIn this guide, you’ll learn:
- why people make soap from scratch
- the difference between cold process and hot process soap
- how lye works in soap making and how to handle it safely
- how to choose oils for hardness, lather, and conditioning
- how to customise soap recipes once you understand the basics
This article is intended for adult DIY soap makers. Soap making from scratch involves working with lye (sodium hydroxide), which requires care, protective equipment, and proper handling.
Why Make your Own Soap?
Besides being mountains of fun to make, homemade soaps can be tailored to suit your individual skin needs, and they're so much better for you than the typical bar of [insert conventional chemical-loaded soap bar here]. You won't find any unnatural, toxic chemicals or harmful products in our ingredients list, so you can rest assured these soaps will be gentle enough and safe for the whole family, and the environment. We have briefly covered the chemistry and process of soap making in the Shampoo Bar blog, but I'll review and elaborate here:
A Brief Review of How to Make Soap From Scratch
You can use a glycerine 'melt & pour' ready made soap base, but here we're going to learn how to make soap from scratch by mixing oils with water and lye. Soap making can be done via:
- Cold Process - Heat up, let the mixture cool down, then cure soap for a month
- Hot Process - Cook the soap mixture with no need for a long curing time
Soap making is similar to lotion making in that you are blending oils with liquids, but instead of using an emulsifier and preservatives, you use lye to create a chemical reaction which hardens the mixture into soap.
Is Lye Safe To Use In Soap Making?
I had slight reservations about including recipes with lye (a key soap making ingredient) as it is a harsh alkali compound. Lye, also known as sodium hydroxide or caustic soda, is used to produce a chemical reaction between salt (sodium) and fats in the oils or butters. The reaction is exothermic, meaning it produces heat and even bubbles, and can produce fumy steam, which is why you need to wear gloves and safety goggles when working with it. The result of the chemical reaction is an opaque or cloudy, hard soap.
Although this sounds really bad, all the lye is used up in the reaction so when you use soap on your skin you aren't getting any of it. Please be sure you use only 100% pure sodium hydroxide and take the necessary safety precautions.
Ingredients in soap making
Include oils, butters, essential oils, botanical or extras and lye:
- Beeswax - vegetarian but not vegan. Beeswax will add hardness to your soap but use sparingly as it can prevent lathering in larger quantities.
- Cocoa butter - a 'superfatting oil', which provides moisture for the skin.
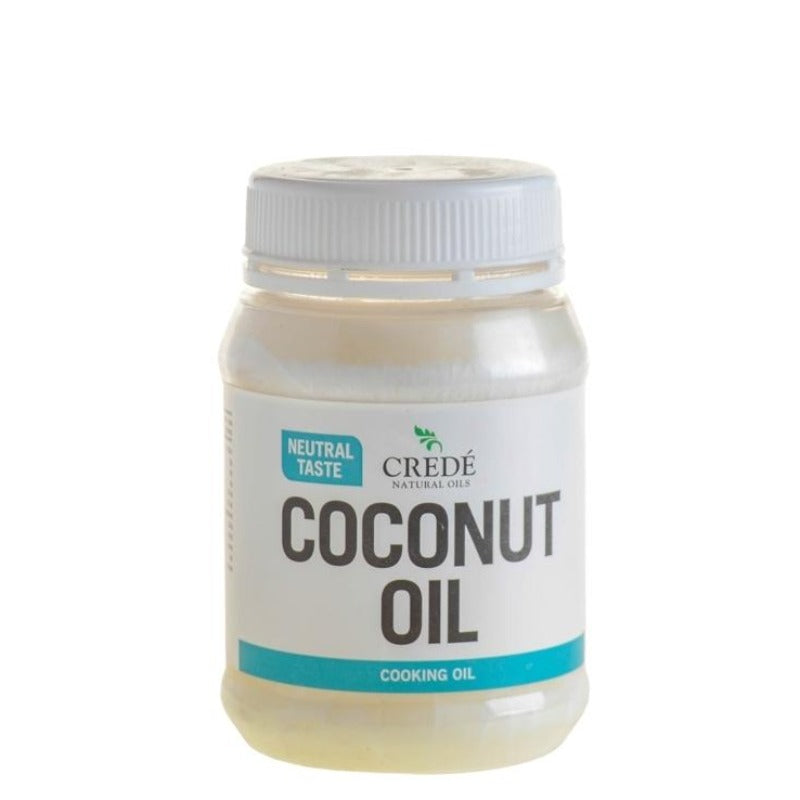
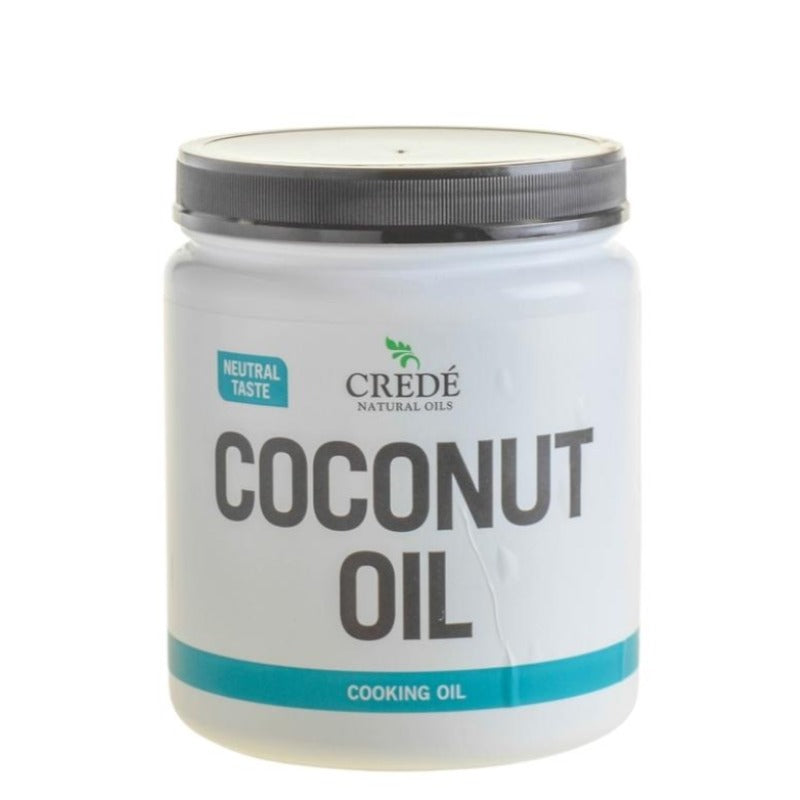
- Coconut oil - makes a hard bar that is cleansing and has a good lather.
- Olive oil - conditioning and good for all skin types.
- Shea butter - a 'superfatting' moisturising oil.
- Sweet almond oil - light and skin conditioning.
Note: The above oils and butters are base oils, you can really add any oil of your choosing.
- Add essential oils of your choice for fragrance and additional skin properties, or you can choose to make a fragrance-free soap and leave them out.
- Preservative and antioxidant: soaps don't need preservatives, but if you are using a superfatting soap recipe, you can add an antioxidant such as vitamin E oil, grapefruit seed extract or rosemary oleoresin if you wish, just to stabilize the heavier fats.
- A scent fixer is optional but it can help keep your soap's scent for longer. Try benzoin, arrowroot powder, oris root powder, or essential oils such as may chang or patchouli, balsam or cedarwood.
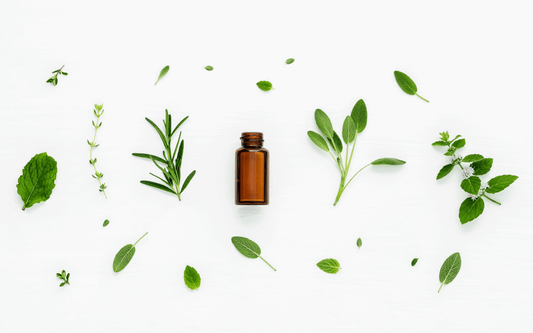
- Botanicals and dried herbs make for nice additional chunkiness and add an exfoliative property to your soap. Try dried lavender blossoms, calendula flowers or hibiscus. You can also add oats or dried herbs for exfoliative and other skin properties.
- For colors you can add clays, which also have skin properties, or any of these natural colors.
Extras: try adding aloe vera gel, honey, coffee (beans or ground), activated charcoal or rooibos tea leaves. Soaps have so much room for customising, so experiment!
Basic Soap Oil Recipe
The oils used in soap are important; use some hard oils and some soft to make the best soap consistency. Here is a basic oil formula:
60% hard oils (solid at room temperature)
- 25% to 45% lathering hard oils
- 15% to 30% conditioning hard oils
40% soft oils (liquid at room temperature)
- 20% to 30% nourishing soft oils
- 5% to 10% luxury soft oils
- 5% to 10% castor oil
Explaining The Different Types of Oils
Hard oils are any oil that is solid or semi-solid at room temperature, eg. coconut oil.
- Lathering hard oils include oils such as coconut oil, babassu oil, and murumuru butter.
- Conditioning hard oils are oils and butters such as cocoa butter, mango butter, shea butter, etc.
Soft oils are liquid at room temperature.
- Nourishing soft oils are sunflower oil, safflower oil, olive oil, canola oil, almond oil, apricot kernel oil and avocado oil.
- Luxury soft oils include evening primrose oil, walnut oil, wheat germ oil, hemp oil, rosehip oil, and pumpkin seed oil.
- There are no oils comparable to castor oil due to its unique fatty acid profile. But castor oil is worth including in a small percentage in a soap recipe to sustain a lovely lather.
How To Adjust The Soap Formula
Conditioning
If you want to increase the conditioning property in a soap, try:
- Replacing the water with alternative liquids such as goats milk, yogurt, or aloe vera juice
- Increasing the superfat ratio of the oils;
- Adding nourishing oils such as apricot kernel oil, avocado oil, olive oil, rice bran oil, or sunflower oil
- Adding luxury oils such as argan oil, evening primrose oil, flaxseed oil, hempseed oil, jojoba oil, pumpkin seed oil or wheatgerm oil.
Hardness
If you want to increase hardness, try:
- Increasing your hard to soft oil ratio by using a higher percentage of hard oils
- Adding stearic acid at 0.5% to 1% of the total soap formula
- Including beeswax at 1% to 5% of the total soap recipe
The Process of Soap Making
Making soap is a process of:
- React lye with melted oils
- Blend well until 'trace' is achieved (when the mixture is slightly stiffer, like the consistency of pudding and you can 'trace' it if you dribble a spoonful of the mixture over the bowl)
- Add your extras
- Set in a mold
Cold process soap will need to be cured for 4 to 6 weeks, and even hot process soap is better when it has sat for a week. To cure, put the cut soap bars on a rack to dry out in a cool, dry place. Turn the bars daily for the first few weeks, then turn once a week after that.
Ok, now that we know what's what, let's get to the best part, the recipes! There are so many divine soap recipes out there it's impossible to put them all in this blog, but these are my favorites:
Beginner's Olive Oil & Lavender Soap (cold process)
These ratios are general formulation guidelines, not fixed rules, and can be adjusted once you understand how different oils behave in soap.
Ingredients:
- 500g extra virgin olive oil
- 100g coconut oil
- 10g lavender essential oil
- 80g lye
- 195ml water
Method:
- Mix the lye into the water (never the other way around!) and leave to cool.
- Mix together the olive oil and coconut oil (it may need to be melted first).
- Pour the lye mixture gently into the oils, then use an immersion blender to blend until trace is achieved (pudding consistency).
- Mix in the essential oil and pour into molds.
- Cover and set aside for 24 to 30 hours, then remove from the molds and let the soap cure for a month, turning daily.
Pure Lathering Coconut Soap Bar (hot process)
Ingredients:
- 935g coconut oil
- 135g lye
- 355ml water
- 20 - 40 drops essential oils (optional)
*This recipe makes quite a few bars, halve it if you don't want to make so much.
Method:
- Pour the water into a glass dish and then slowly add the lye to the water (never the other way around).
- Let it cool for 5-10 minutes.
- Melt the coconut oil in a bowl over a pot of steaming water.
- Once melted, pour the lye mixture into the coconut oil.
- Use an immersion blender to blend until trace it achieved (when the mixture holds slightly; pudding consistency).
- Then cook the soap mixture for 45 mins to an hour, stirring occasionally, until it looks like semi translucent vaseline.
- It will rise and fall up the sides of the pot, but not bubble over. It should feel waxy between your fingers when done, and with no oil puddles.
- If you are adding essential oils, add them at this stage.
- Pour the soap into molds and let them harden.
- Once hard, turn out of the molds, place on a rack and let the soap bars dry out.
You can use them after a few days, but they are best after 2-3 weeks of curing.
Herbal Soap (cold process)
Ingredients:
- 120g boiling water
- 62g lye
- 136g coconut oil
- 204g olive oil
- 91g sunflower oil
- 23g shea butter
- 10g essential oil (approx. 1 tsp) - match to your selected herb
- 1 tsp dried herb of your choice - peppermint, melissa balm or rosemary are all great options
- 6 drops antioxidant (vitamin E or grapefruit seed extract)
Method:
- Melt the hard oils (coconut and shea butter), then remove from heat and stir in the soft oils.
- Add the lye to the water and let it cool for 5 to 10 minutes.
- Add the lye mixture to the oils and blend with an immersion blender until trace is reached.
- Add your herbs and essential oils and the antioxidant at this point.
- Then pour the soap mixture into moulds and let set for at least 24 hours.
- Remove from the molds, cut up and store in a cool, dry place for a month to cure.


1 comment
I need a low material for to make a washing powder. Dishwasher. Hand wash.shampoo. lotion.