
Whipped Soap Base / Foaming Bath Butter
Juliette van der MeerWhipped soap base, also known as foaming bath butter, is a simply fabulous invention!
What Is Whipped Soap?
Made from mild and eco friendly surfactants and gentle glycerine, this bath & body whip is non-stripping on the skin and is pH balanced. It has a myriad of uses, is surprisingly simply to make, is super fun to use, and also makes for a cool gift as well as a great product for resale. What's not to love!
You Can Use The Foaming Bath Butter Base As:
- A shaving cream
- A whipped cream soap for any cleansing purpose
- A hand wash - only a tiny bit required for clean and moisturised hands
- A facial polish/cleanser - it is gentle enough for use on the face
- Use at bath time to make a soft, moisturising bubble bath
- A whipped body scrub
- As 'frosting' on soaps and bath bombs
- You could even use it as a body wash or shampoo!
Customise Your Whipped Base for WOW Factor
To make foaming scrubs and polishes, you can add jojoba beads or another exfoliant such as apricot kernel scrub.
Make it really pop by adding colour from mica colours (we love multi colours!), add in essential oils for fragrance, biodegradable glitter, or even add in a bit of carrier oil for extra nourishment*.
*I wouldn't go above an extra 10% additional oils as oils and surfactants are enemies (surfactants wash away oils and become less bubbly the more oil is used).
Packaging ideas For Your Foaming Bath Butter
A popular presentation idea is to pipe your whipped soap into a clear jar. The piping gives a great aesthetic look, and the clear jar allows the colours to shine.
Or spoon it into a container and create your own swirls/designs!


14 comments
Can this be pre-made and used in products later? If so, would one heat it up again, add colour and fragrance and whip it up again?
Thanks in advance.
Hi Jean-Jacques, it acts as a thickener. You can leave it out if you like, but I like to add it!
Hello there!
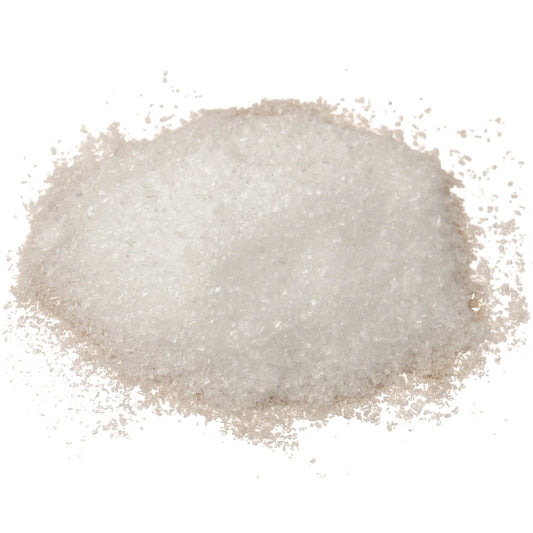
This is a lovely formula and I have had great fun mixing things up. What I would like to know is what is the purpose of the salt?
Hi Dane’, I’m sorry to hear that. However the recipe is quite specific, and unfortunately will not work with substitutes. You need to follow the exact ingredients and amounts.
Good day,
I was so excited to attempt this recipe but it does not seem to be working in my favour. The final product does not want to whip up. I attempted the recipe twice each time in 100g batches. The first time I added some shea butter because i did not have stearic acid and started whipping when the mixture was half way solid, this left me with a very dense mix that would not pipe. The second bath i didn’tadd the shea butter and