DIY Wax Melts
Juliette van der MeerWax melts are concentrated nuggets of essential oils enclosed in wax. When melted, the wax helps the oil fragrance diffuse safely, and extends the time that the scent will last.
Wax melts are a wonderfully easy way of diffusing the aromas of essential oils into your home, and they make stunning gifts. They're also a fun way to keep the kids occupied.
Making your own wax melts let's you choose whichever scent combinations you like, plus you know the ingredients will be only natural wax and essential oils - no paraffin or synthetic fragrances. Let's get busy making!
Choose Your Wax
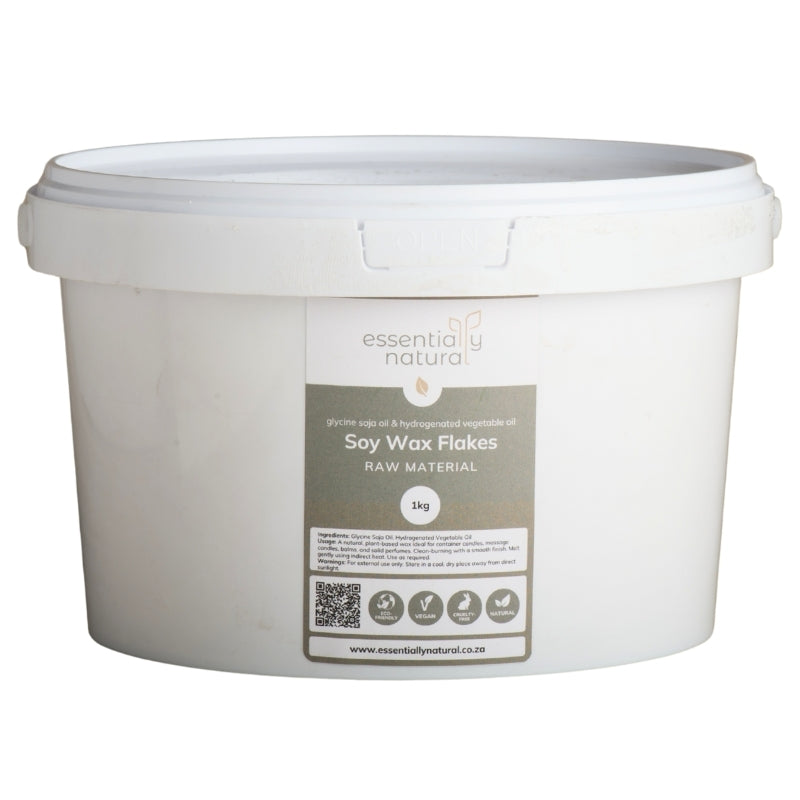
Soy wax is a lovely plant wax with a low burn temperature that makes great wax melts. We recommend using soy wax as it is neutral in colour and scent and is a great scent carrier.
You could use beeswax but it may have a slight beeswax honey scent which may interfere with other scents. If you are using beeswax, add in some coconut oil to make it a little softer, otherwise beeswax melts might take a really long time to 'get going'.
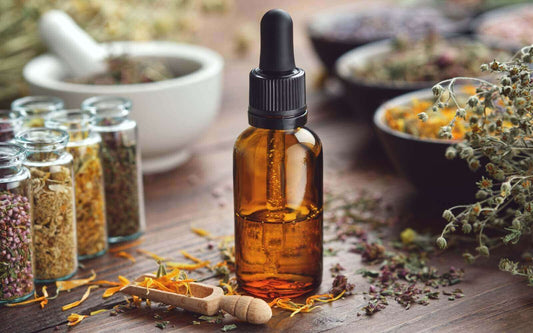
Choose Your Scents
There are hundreds of essential oils to choose from, each with their own unique properties and scents. For wax melts you can make up a combination of different essential oils or use the essential oils by themselves.
Some scent ideas:
- Sleepy Time
Chamomile, lavender, vetiver (the classic sleep scent)
Or
Helichrysum, snowbush, chamomile, geranium (very soft and luxurious scent)
- Refreshing Herbal (great to freshen up a kitchen or bathroom):
- Citrus Celebration
- Spiritual
More scent inspiration can be found in our blogs on Solid Perfume Making and The Art of natural Perfumery.
Soy wax usually has a scent hold of around 5-10%, meaning you can add in essential oils up to 5-10% of your wax amount. Eg. if you have 100g soy wax you can add in 5-10ml essential oils.
Extras
You can also add in botanicals such as rose petals, jasmine blossoms or other flowers and herbs.
If you want to colour your wax melts you can use wax dyes or try natural colours. You could also melt down any natural wax crayons for colour.