
DIY Natural Modeling Wax
Juliette van der MeerMade popular by the Waldorf schooling system, modeling wax is often used as an introduction to more advanced modeling mediums such as clay, and is a natural alternative to plasticine clay. Natural modeling wax is typically made with beeswax, although you could also use a vegan wax, and is perfect for younger children to start learning how to form models and designs.
Why make Modeling Wax?
DIY modeling wax is fantastic for children as it provides them with a fun, tactile experience. Keep them occupied during car rides, model life cycles in an educational environment, get artistic with shapes, designs and colours or simply have some easy fun, the list of uses is endless.
Beeswax modeling wax goes hard after a while but it can be softened up in the hands and will be ready to use again in a few minutes. Tell a story while kids hold the wax in their hands to soften it up. It also gives the fidgeters in the class something to occupy their hands with while participating in a listening activity. Modeling wax can even be used as a stress ball!
Who is Modeling Wax for?
Modeling wax is suitable for children from preschool age right up until the end of primary school. Begin by only working with one colour of modeling wax at a time, then slowly introduce more colours so children can build more intricate designs.
What is Modeling Wax made of?
The ingredients of natural modeling wax are part of their great appeal. With just three base ingredients that are completely natural, you know the kids will be 100% safe.
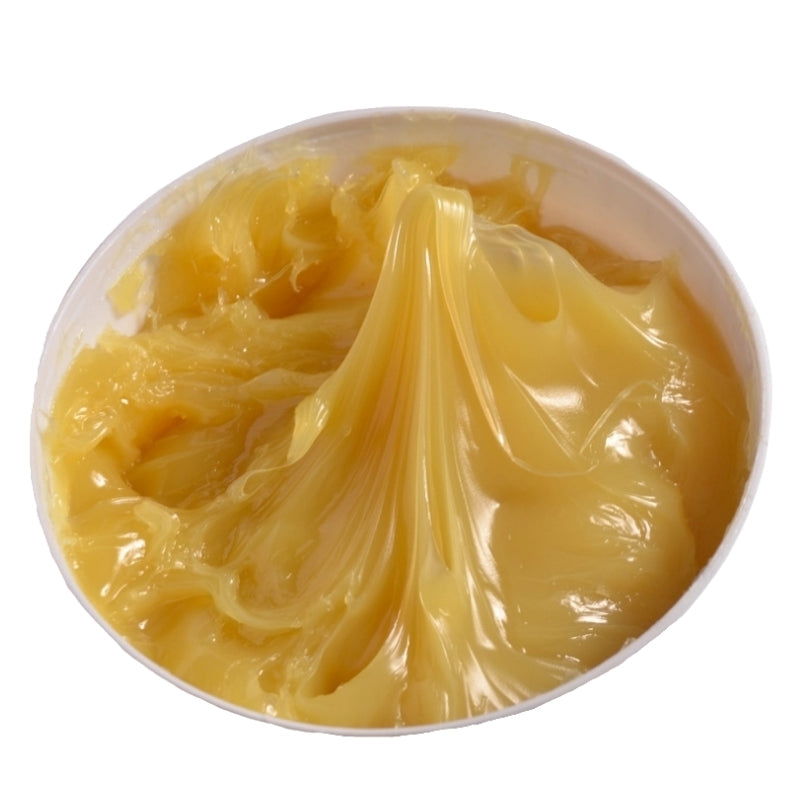
- Beeswax is great for skin, very gentle and completely non irritating and nontoxic, all of which makes it ideal for young hands. It has a soothing scent reminiscent of honey.
- Olive oil is arguably the oldest used moisturiser in the world and is great for skin.
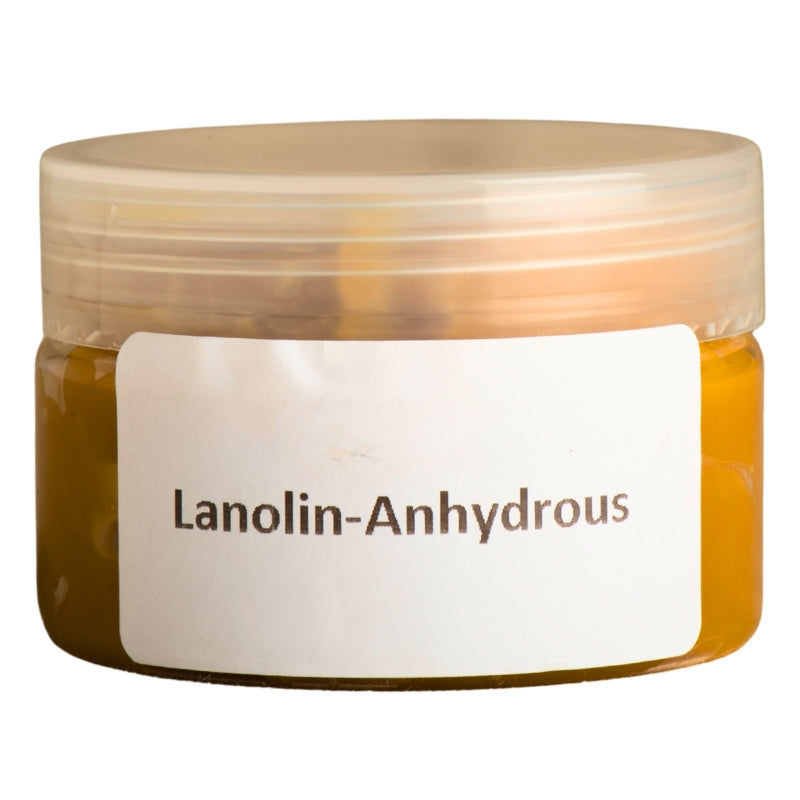
- Lanolin is another excellent emollient and treats dry skin, rashes and irritations. It softens and soothes skin.
Can you add Essential Oils to Modeling Wax?
Adding essential oils can contribute an aromatherapy element that can be calming for busy young children. Essential oils act as natural fragrances, which in a tactile toy such as modeling wax, adds an additional element of fun. Try lavender, orange, geranium, chamomile or other child-friendly oils for specific aromatherapy actions. You can even match the scents to the colours, for example sweet orange or naartjie for orange, cinnamon for brown, lavender or clary sage for purple, geranium for pink, mint for green, etc. Our Guide to Child Friendly Essential Oils is a good resource to start with.
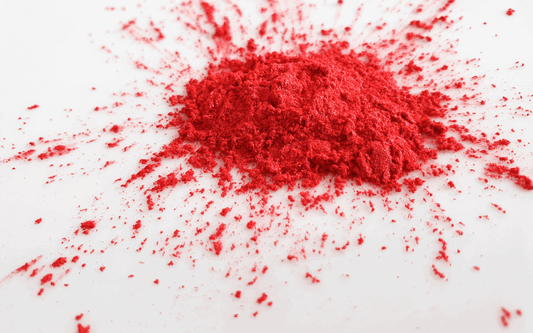
Colouring Modeling Wax
Lastly, natural colours bring the fun! Refer to our DIY Natural Colourants guide or the DIY Wax Crayons blog for natural colour pigment ideas.


5 comments
I was excited about this recipe, but it didn’t work out. I followed the instructions exactly, even weighing the beeswax, and from the very beginning, it was too sticky. To balance the texture and soften it, I added more olive oil only, as the instructions suggested, but it got to the point where it was soft enough and still far too sticky to play with comfortably. If you have any suggestions on how to salvage this large use of ingredients I would be grateful! Thanks, Brittany
Hi Erica, I would recommend the hydrogenated castor oil as a substitute: https://essentiallynatural.co.za/products/castor-oil-hydrogenated
Otherwise maybe a soft butter such as shea could work.
What is the purpose of the lanolin? Is it possible to use something else instead? Trying to make a vegan version and lanolin isn’t vegan.
Wow, how lovely that you have so many bees around :) They probably will be attracted to the scent of the melted wax, so maybe you could just close your kitchen windows while you are busy making it? I’m sure once you add the other ingredients and especially if you add an essential oil, the scent may be masked. Otherwise try diffusing or spritzing peppermint oil around your work area – bees don’t like the smell but it won’t harm them.
Thanks so much for this, it really sounds great.
I have quite a lot of bees as I encourage them into my garden.
Won’t they smell the wax and flood my home? Or do you think that the smell of melting beeswax won’t affect them?
As much as I love and appreciate bees, I don’t want them inside my house in a swarm, not only dangerous for them, but for us too?
What was your experience whilst making this?
Thank you