Simple DIY Lip Balm for Soft Lips
Porsha MartinToday, we're diving into the world of homemade cosmetics with a simple yet luxurious lip balm recipe. If you're a beginner looking to dip your toes into the art of crafting your own products, this recipe is tailored just for you. It's also highly customisable - add your own unique twist! It's not only easy to follow but also filled with the goodness of natural ingredients.
Let's get started on creating a lip balm that will leave your lips soft and hydrated.
Easy Lip Balm Recipe
Ingredients
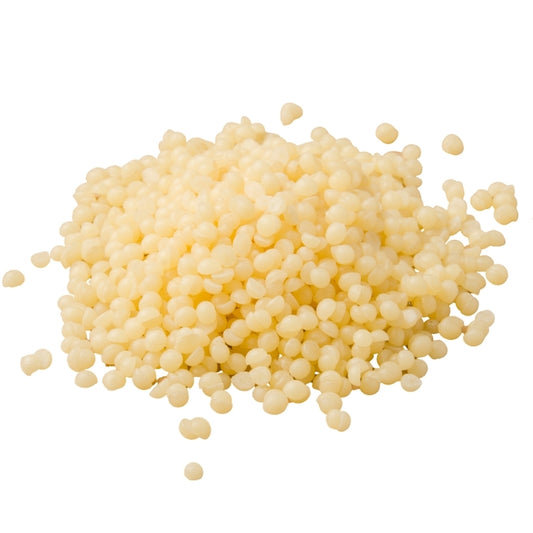
- 1 tbsp Beeswax
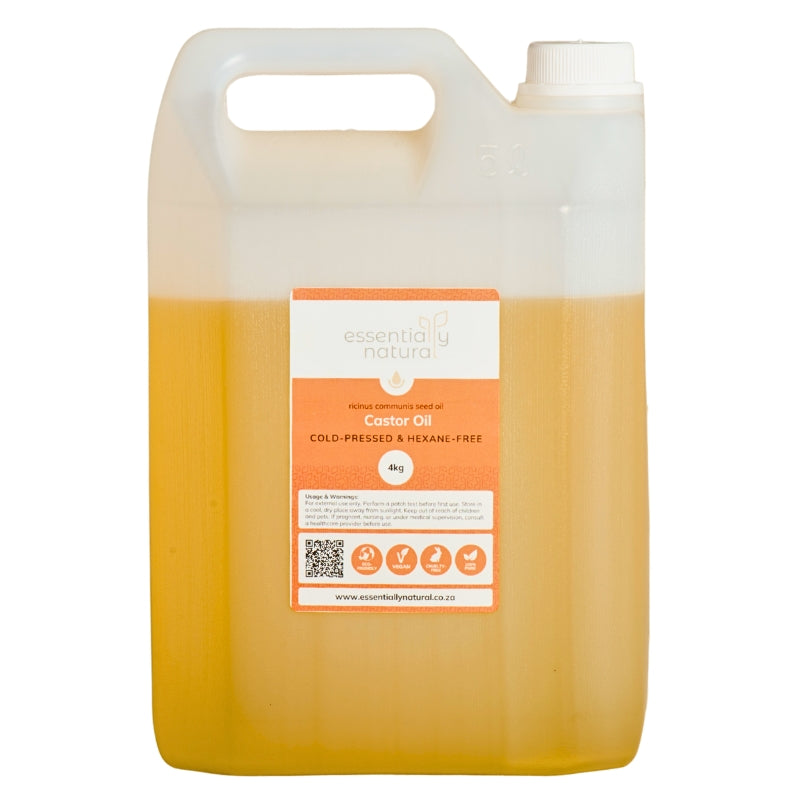
- 1 tbsp Castor Oil
- 2 tbsp Sweet Almond Oil
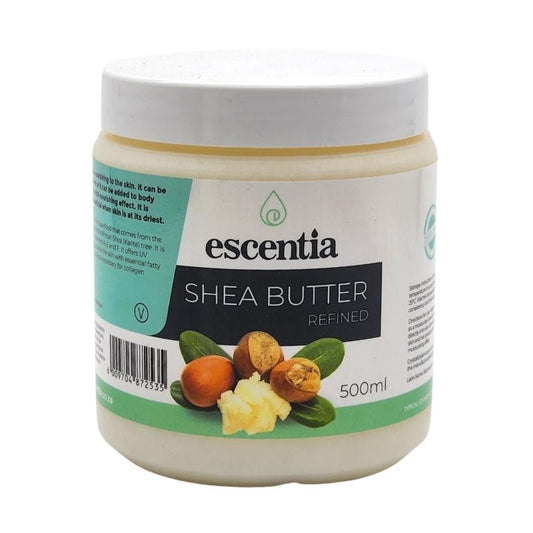
- 1 heaped tbsp Shea Butter or Cocoa Butter
- 1/2 teaspoon White Gold Mica (for that subtle shimmer)
- 15-20 drops Essential Oil (choose your favourite scent)
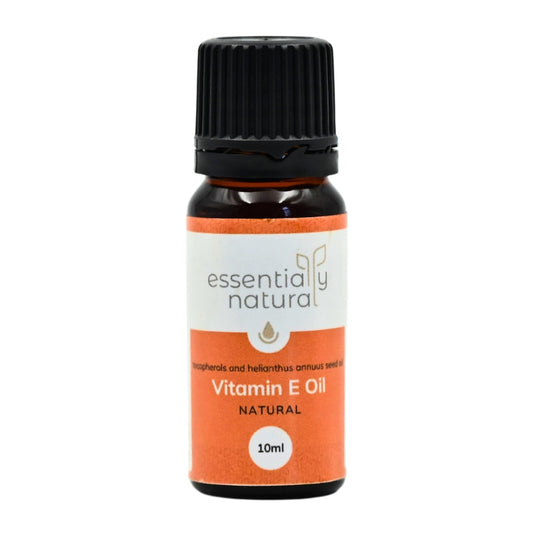
- 1/2 teaspoon Vitamin E Oil
Why choose these ingredients? Each component in this recipe plays an important role in nourishing and protecting your lips.
Beeswax forms the perfect base, offering a natural shield against harsh elements, while castor oil provides a glossy finish without the stickiness.
Almond oil, a treasure trove of vitamins, deeply moisturises the skin.
Choosing between shea butter and cocoa butter depends on your texture preference; both are excellent for softening and healing.
The mica adds a beautiful, natural shimmer (or tint), and the essential oils not only infuse your balm with a lovely fragrance but also add additional therapeutic benefits.
The vitamin E acts as an antioxidant, helping extend the shelf life of your lip balm.