DIY Wax Wraps
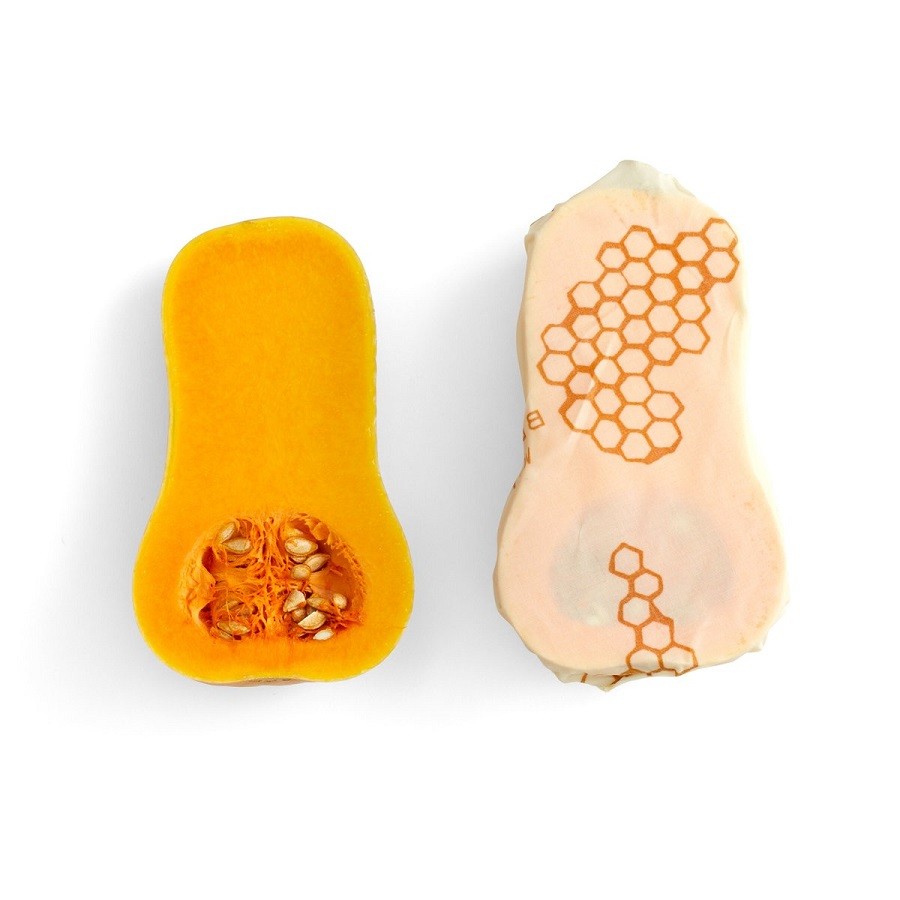
Juliette van der MeerIf you’re looking for a plastic-free, reusable covering that won’t leach any chemicals into your food, then try out wax wraps! Whether it be wrapping bread, storing avocados, covering the bowl as dough rises, sealing up leftovers, wrapping sandwiches or covering containers without lids, wax wraps are multipurpose and a healthier and more eco-friendly alternative to plastic wrap.
Can You Switch Out Wax Wraps For Plastic Wraps
While wax wraps don’t replace plastic wrap in every situation, they are reusable and they certainly do a wonderful job of reducing the amount of single use plastic that gets sent to the landfill. Wax wraps are ideal to cover any shape or size, and can even be frozen. Wax wraps can also be made vegan, simply substitute the beeswax for a vegan wax such as soy, carnauba or kahl wax.
DIY wax wraps make great gifts and are fun holiday activities!
Beeswax Wraps
Beeswax wraps are the most common wraps. They are fairly pliable and tacky, but if you want to make the wraps softer, try adding a very small amount of jojoba oil. Pine resin, if you can get it, gives extra clingy-ness, similar to plastic wrap. Unfortunately it is near impossible to get in South Africa and may people experience allergies to it so we will not be using it in our recipes.
If you are using Pine Resin:
- Melt the resin first (it may take up to 45 mins or longer).
- Add the wax and melt together.
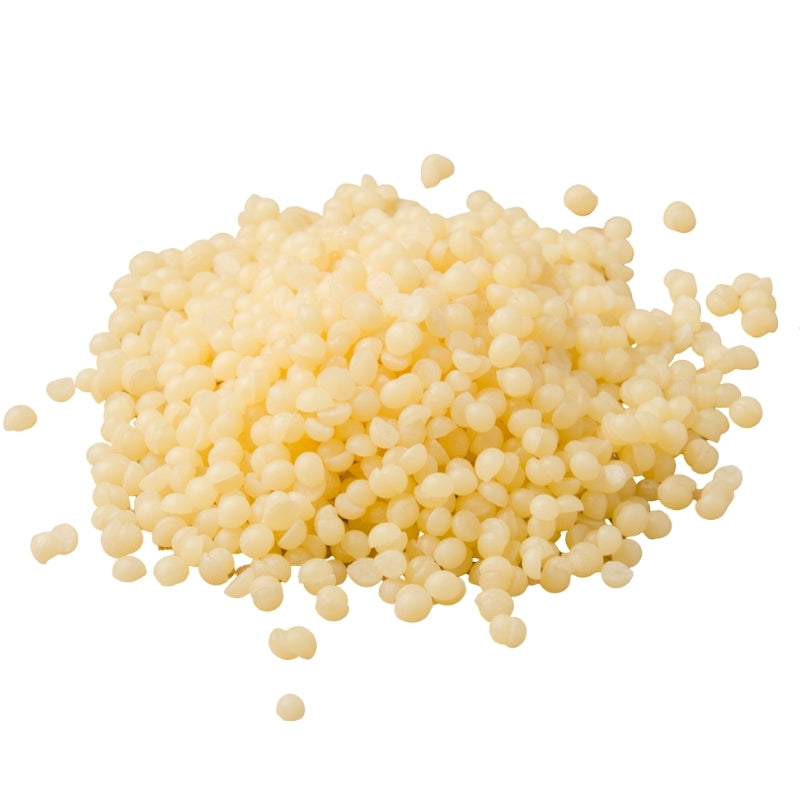
Beeswax is naturally anti-bacterial and preserves moisture well, so these wraps are ideal for wrapping food.
I made beeswax wraps for the first time the other day and had good results. I used plain beeswax on one cloth and beeswax mixed with a bit of jojoba oil on another, to test which was better. For the first cloth, and my first ever attempt at making wax wraps, I melted the beeswax and spooned it onto the cloth. The wax doesn’t spread so easily so putting the cloth in the oven to re-melt is recommended.
So into the oven the wrap went.
Then I was interrupted by a phone call. By the time I was finished on the phone, all that remained was a burnt piece of cloth! Funnily enough it still worked, and I was surprised by the adhesiveness. A good press and it stuck to itself and to other objects, and gave a satisfying crackle sound when pulled apart. It just smelt a tad like burnt wood...
For the second cloth I added a few dashes of jojoba oil to the melted beeswax, spooned onto the cloth and then popped in the oven, being careful to watch it this time; it only needed a few minutes in the oven. Once melted in, I removed the cloth from the oven and it dried and cooled in seconds. It definitely was a bit softer than the plain beeswax one, but I didn’t notice any difference in tackiness.
Both worked perfectly.
Making wax wraps was way less fuss and mess than I had imagined it would be, considering working with beeswax (or any kind of wax) can be quite messy. Wax wraps are actually the easiest and quickest things to make!
Making DIY Beeswax Wraps
25 x 25 cm or 30 x 30 cm size fabric cloths are ideal for most purposes - use the thinnest fabric with the tightest weave you can get (eg. tightly woven muslin or cotton, don’t use loose woven cloth or the wax will flake off). But you can experiment with different size cloths for different purposes.
Ingredients:
- 40g beeswax, depending on how large your piece of cloth is or how many you want to make.
- ½ tsp jojoba oil (optional)
Methods:
There are a few ways to melt the wax into your cloth; choose the method that works best for you. I melted the wax, spooned it onto the cloth then popped it in the oven for about 3 minutes to melt in. Here are some other ways:
- Place your fabric on a sheet of tin foil, sprinkle wax over the cloth, stick in the oven and when it has melted, brush over to coat thoroughly. This way you don’t have any beeswax-covered bowls to clean up. You may need to repeat the oven process a few times and flip the cloth over to make sure the cloth is evenly coated. But make sure the cloth isn’t too thickly coated or it will crack.
- Gently melt the wax in a bowl or pan, then dip the cloth in to coat. Let the excess drip off by holding the cloth up over the bowl.
- Sprinkle the wax over the cloth, cover with wax paper or parchment and iron on!
Be care not to use too much wax or over-saturate the cloth otherwise it may crack when folded. If you do over-saturate the cloth, simply soak up the excess by laying a second cloth on top of it.
Once your cloth is evenly coated with wax, hang it up to dry or just hold it up - beeswax hardens in seconds!


7 comments
Hi,
I can’t seem to find pine resin in SA but has anyone made these wraps with just the beeswax ? And if so , how did they turn out ?
Hi Michelle, we also stock frankincense and myrrh resin. I haven’t tried with these, so can’t say it will work or not. But let us know how it goes it you try it!
I want to try this but definitely want my wraps to be a little bit ‘sticky’
I see you can get Francinsence resin from faithful to nature. Wondering if that will work
Hi Estelle,
Pine resin isn’t necessary for the wax wraps to work :)
So there’s not really an alternative to the pine resin but you can simply leave it out as per the recipes.
Is there an alternative for pine resin?