DIY Natural Modeling Wax

DIY Natural Modeling Wax


Made popular by the Waldorf schooling system, modeling wax is often used as an introduction to more advanced modeling mediums such as clay, and is a natural alternative to plasticine clay. Natural modeling wax is typically made with beeswax, although you could also use a vegan wax, and is perfect for younger children to start learning how to form models and designs.


DIY modeling wax is fantastic for children as it provides them with a fun, tactile experience. Keep them occupied during car rides, model life cycles in an educational environment, get artistic with shapes, designs and colours or simply have some easy fun, the list of uses is endless. Beeswax modeling wax goes hard after a while but it can be softened up in the hands and will be ready to use again in a few minutes. Tell a story while kids hold the wax in their hands to soften it up. It also gives the fidgeters in the class something to occupy their hands with while participating in a listening activity. Modeling wax can even be used as a stress ball! 


Modeling wax is suitable for children from preschool age right up until the end of primary school. Begin by only working with one colour of modeling wax at a time, then slowly introduce more colours so children can build more intricate designs.


The ingredients of natural modeling wax are part of their great appeal. With just three base ingredients that are completely natural, you know the kids will be 100% safe.


Beeswax is great for skin, very gentle and completely non irritating and nontoxic, all of which makes it ideal for young hands. It has a soothing scent reminiscent of honey.


Olive oil is arguably the oldest used moisturiser in the world and is great for skin.


Lanolin is another excellent emollient and treats dry skin, rashes and irritations. It softens and soothes skin.


Adding essential oils can contribute an aromatherapy element that can be calming for busy young children. Essential oils act as natural fragrances, which in a tactile toy such as modeling wax, adds an additional element of fun. Try lavender, orange, geranium, chamomile or other child-friendly oils for specific aromatherapy actions. You can even match the scents to the colours, for example sweet orange or naartjie for orange, cinnamon for brown, lavender or clary sage for purple, geranium for pink, mint for green, etc. Our  Guide to Child Friendly Essential Oils is a good resource to start with.


Lastly, natural colours bring the fun! Refer to our  DIY Natural Colourants guide or the  DIY Wax Crayons blog for natural colour pigment ideas.


DIY Modeling Clay - Beeswax Recipe

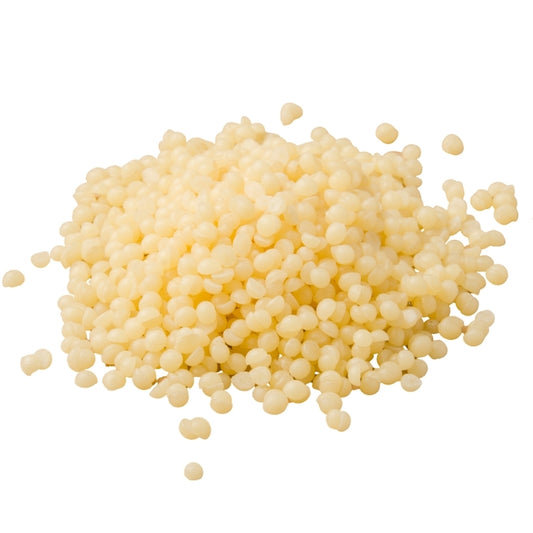
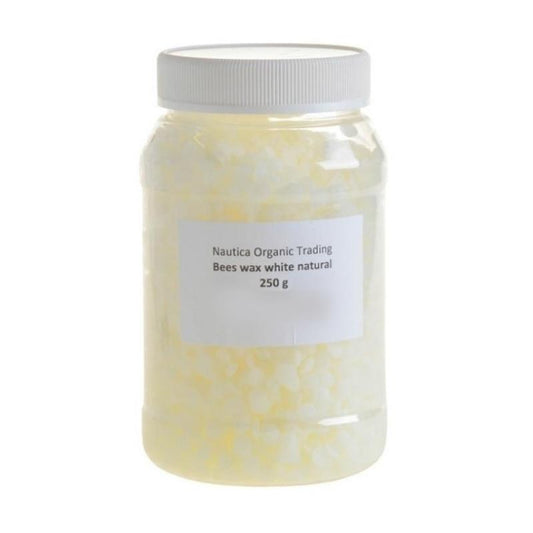
450g  beeswax

5 T  olive oil

4 T  lanolin

Essential oils of choice (optional)

Melt the beeswax in a hot water bath or in a crock pot. To the melted beeswax, add the olive oil and lanolin, stirring it in. Scoop out two-three teaspoon’s worth of the mixture and pour into a dish to solidify - this will be your tester to see if the consistency is right. You may need to adjust the consistency of your modeling wax by adding more olive oil and/or lanolin, as beeswax can vary (like all natural products). Once the tester wax has solidified, play with it in your hands. If your wax is too hard or crumbles in your hands, add more olive oil a tablespoon at a time and add more lanolin a teaspoon at a time. If the wax works but feels sticky, add only olive oil, one tablespoon at a time. In the unlikely instance your wax is too supple, add more beeswax.

Once you are happy with the consistency and texture of your modeling wax, you can add colour to it. Refer to our  DIY Natural Colourants guide or the  DIY Wax Crayons blog for natural colour pigment ideas. When you have your colours ready, simply remelt the wax mixture if it has hardened and add any essential oils if using, then divide the mixture into multiple cupcake holders (silicon is always best). Blend in different colours. You can use grated coloured natural wax crayons instead of colour pigments. Then leave to set up. To use, warm the modeling wax up in your hands or in warm water, then model away!


DIY Modeling Clay - Soy Wax Recipe

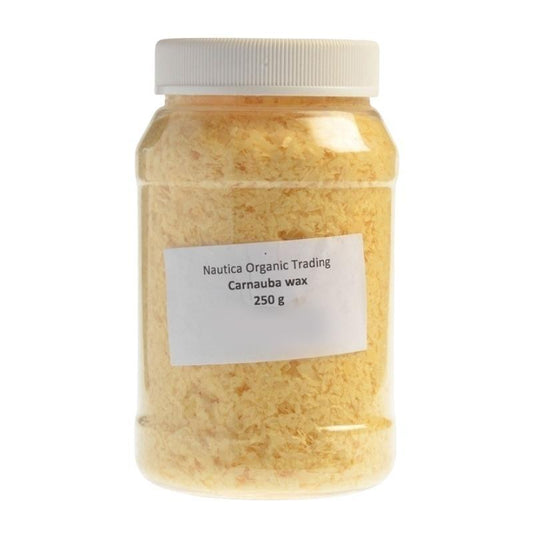
This plant wax version is made using  soy wax. Soy wax is very similar in hardness to beeswax so can be used as a direct substitute. You could also try carnauba wax but you will need to adjust the ratios of wax, olive oil and lanolin.


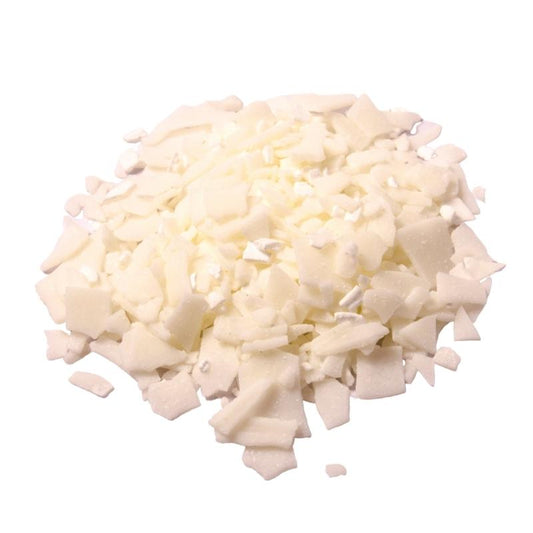
450g  soy wax

5 T  olive oil

4 T  lanolin

Essential oils of choice (optional)

Melt the soy wax in a hot water bath or in a crock pot. To the melted soy wax, add the olive oil and lanolin, stirring it in. Like the beeswax recipe above, you will want to test your modeling wax consistency and you may need to adjust the consistency of your modeling wax by adding more olive oil and/or lanolin. Scoop out two-three teaspoon’s worth of the mixture and pour into a dish to solidify - this will be your tester to see if the consistency is right. Once the tester wax has solidified, play with it in your hands. If your wax is too hard or crumbles in your hands, add more olive oil a tablespoon at a time and add more lanolin a teaspoon at a time. If the wax works but feels sticky, add only olive oil, one tablespoon at a time. In the unlikely instance your wax is too supple, add more soy wax.


Once you are happy with the consistency and texture of your modeling wax, you can add colour to it. Refer to our  DIY Natural Colourants guide or the  DIY Wax Crayons blog for natural colour pigment ideas. When you have your colours ready, simply remelt the wax mixture if it has hardened and add any essential oils if using then divide the mixture into multiple cupcake holders (silicon is always best). Blend in different colours. You can use grated coloured natural wax crayons instead of colour pigments. Leave to set up. To use, warm the modeling wax up in your hands or in warm water, then model away!